This Lent has seen me trying out various vegetarian recipes – mostly Mangalorean, and I am thoroughly enjoying this experience. Mangalorean cuisine is a treasure trove of recipes from every community and there are so many similarities in our recipes albeit a few change in ingredients or measures here and there. Every time I try out a recipe which works for me I fall in love with our cuisine all over again. Most of our vegetarian recipes are coconut based but a good number of them are made with onions, yogurt, buttermilk or lentils as a base. I personally prefer the coconut based curries as I find them to be more delicious, no other reason. Also, the use of coconut ensures that you get sufficient gravy if you are a rice eater (I like lots of gravy on my rice). Anyway, this recipe is a family favourite, my mother made it a lot when I was a child but somehow I don’t remember eating it much during my growing up years. Maybe that’s the reason why I didn’t really make it too often after I got married.
There are tons of vegetable+legume combinations one can try out with a spicy coconut gravy base. The usual and most favourite combo I use is Valchebaji Ani Guley (Malabar Spinach with Black Eyed Beans) but the masala for that curry is a little more elaborate than this one. I adapted this recipe from my friend and co blogger Charishma’s blog and it was a hit both the times that I tried it – so thanks a ton Cherie!
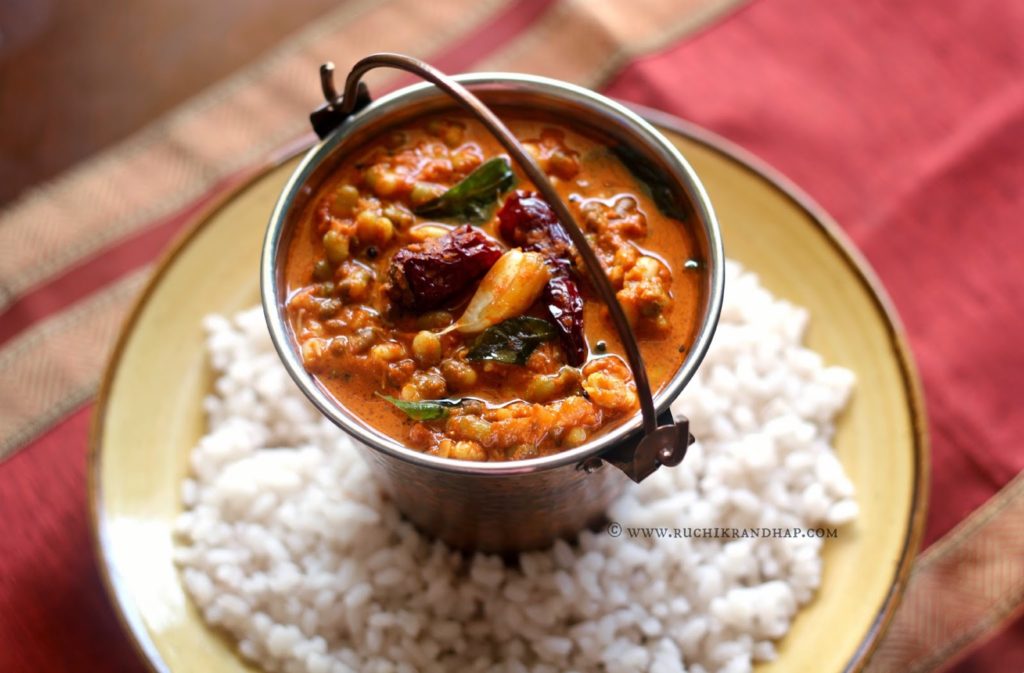
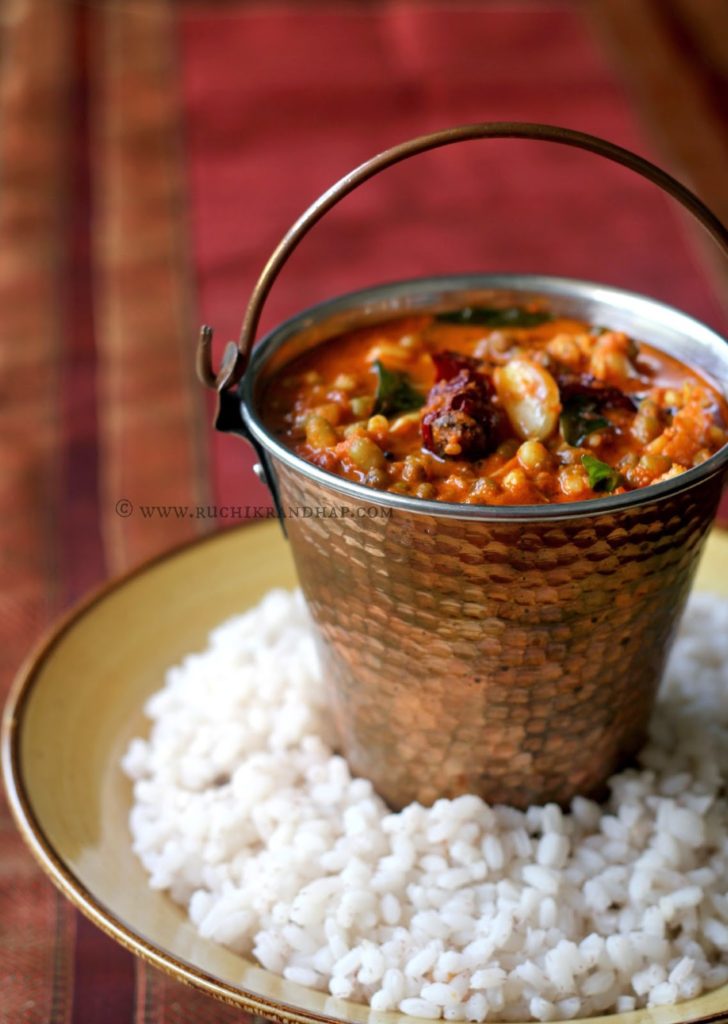
When paired with our Mangalorean red rice (boiled rice variety) this curry can satiate one’s soul. Pair it with papad and pickle on the side and you won’t miss a non veg dish that day. For those who are keen to know where I buy my red rice in Dubai, well, there is this variety called ‘Palakkadan Matta’ that is the in house brand marketed by Lulu Supermarkets. The rice that comes in a transparent bag with a green label is the one I pick. There is another one that is called as ‘Sortex Long Grain Palakkadan Matta’ which I was not happy with. So there! You have your info, so go find that rice and make some today and also prepare this lovely curry and enjoy it too!
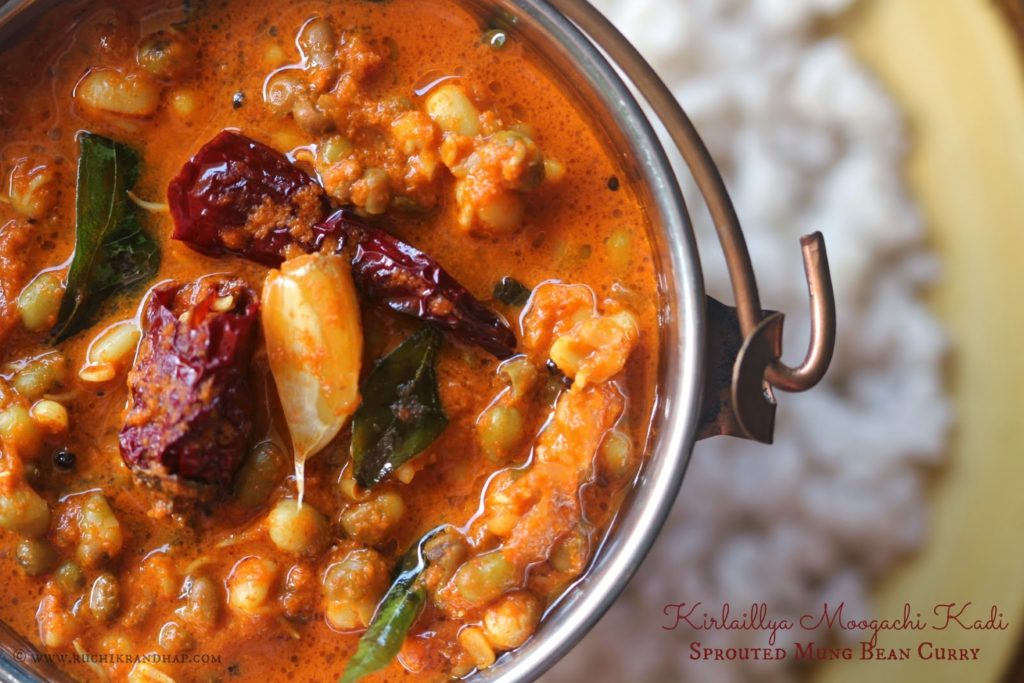
And hey, by the way, this is one of those curries that is made by every community in our culturally diverse Mangalore. It goes by different names – Hesaru Kalu Bendi, Hesaru Kalu Ghassi, Mooga Ghasshi, Pandengi Ghassi and Kirlaillya Moogachi Kadi. One dish, so many names! I love my Mangalore!
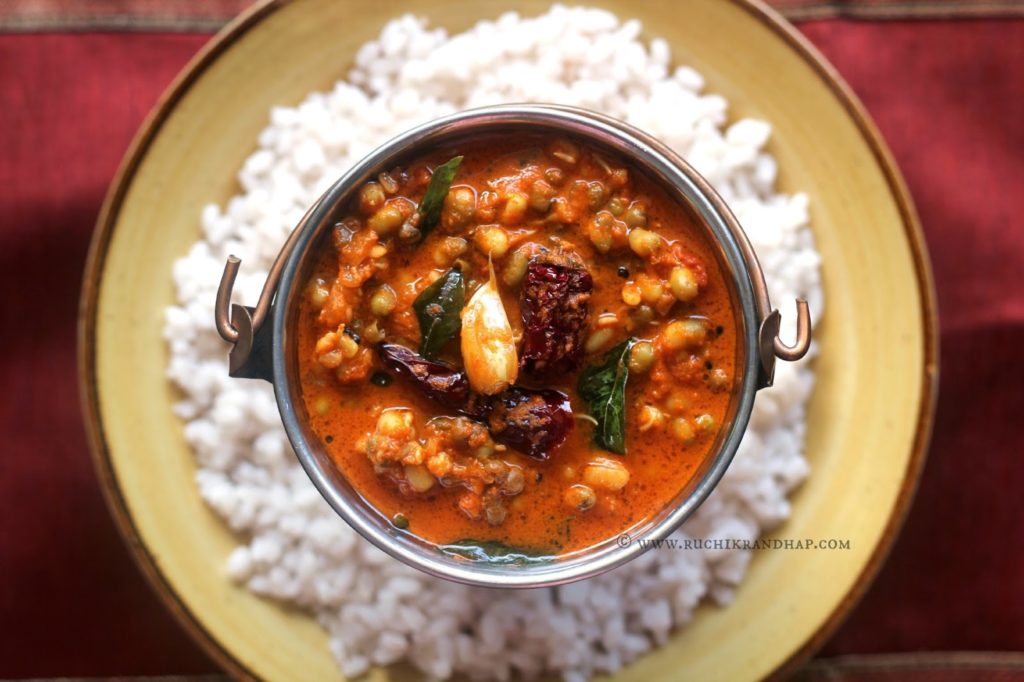
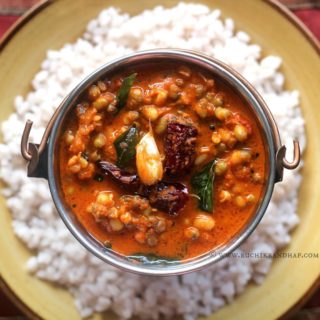
Padengi Ghassi (Sprouted Mung Bean Curry)
A rich curry made with sprouted mung beans cooked in a spicy coconut based gravy is aromatic and delicious and tastes wonderful with red boiled rice
Print
Pin
Rate
Ingredients
- 3/4 cup dried green gram moong/mung beans or 300 grams (approx 2-1/2 cups) sprouted green gram
- 1 medium sized onion chopped
- 1 large tomato chopped
- 3 teaspoons thick tamarind extract adjust to taste
- salt to taste
For the masala :
- 4 long dry red chillies without deseeding or (6 – 7 long dry red chillies, deseeded) * see notes
- 4-5 peppercorns adjust to taste
- 1 tablespoon coriander seeds
- 1/2 teaspoon cumin
- 1/2 teaspoon turmeric powder
- 1 cup grated coconut
For the tempering ( seasoning ) :
- 1 teaspoon mustard
- 1 teaspoon urad dal optional but recommended
- 6 flakes of garlic with skin crushed
- 1 broken dry red chilli
- 12 curry leaves
- 2 tablespoons coconut or any other oil
Instructions
- Place the sprouts, chopped onions, tomatoes, tamarind extract and salt to taste in a pan. Sprinkle approx 1 cup water and cook until tender but not mushy. The fastest way to do this is in a pressure cooker (refer notes)
- Heat a tawa/skillet and dry roast the red chillies, peppercorns, coriander and cumin one by one till aromatic (take care not to burn them). Allow to cool until crisp and then grind along with the coconut, turmeric and a couple of tablespoons of water, till you get a fine paste. Rinse the mixer jar with 3/4th – 1 cup water and reserve it.
- Add the ground paste to the cooked sprouts, mix and then add the reserved masala water – adjust consistency of the gravy as desired. Check salt to taste and simmer the curry for 2-3 mins. Remove from heat.
- To prepare the tempering heat oil in a small pan and when it is hot, add the mustard. When it stops spluttering add the urad dal, crushed garlic, curry leaves and broken red chilli and give a quick stir. Pour this into the prepared curry and cover the pan immediately
- Serve hot with rice, moode, neer dosa or chapathis
Notes
1. To sprout your own mung beans, soak them in plenty of water for 8-10 hours. I usually start the process a day in advance. For ex: If I want to cook sprouts on Sunday, I soak the mung beans in ample amount of water on Saturday morning (around 8-9 am). After it has soaked the whole day, at night, discard the soaked water and place the mung beans in a muslin/cheesecloth and bundle it up. Place this bundle in a small bowl and sprinkle a little water over it. Keep the bowl in a warm corner of your kitchen to aid germination. The next morning the mung beans would have sprouted. For best results, cook the mung beans when the sprouts are still small and tender, the shorter the sprouts, tastier they will be.
2. To pressure cook the sprouts place them along with the onions and tomatoes in a cooker and sprinkle approx 1/2 cup of water and mix well. Cover the lid and place the whistle and cook on full heat for one whistle. Immediately take the cooker off the heat and place it slightly tilted in the sink and turn on the tap of water so that water falls on the base of the cooker (not directly over the lid). This will help the cooker to cool down immediately and you will notice that the weight (whistle) has loosened up completely. Open carefully and stir gently. Vegetables cooked this way will be cooked just right and not turn mushy.
3. I used a mix of Bedgi and Kashmiri chillies, while the former lends the spice to the curry, the Kashmiri chillies give a great colour. If you are using more number of chillies you can de seed them to reduce the spice
Disclaimer
The nutritional values are only indicative.
Tried this recipe?Please leave a comment & rate the recipe below or share a photo on Instagram and tag me @ruchikrandhap
tastes good- but not mentioned about tamarind in the method.
Thanks for this recipe. It came out very well. I followed it to the T, only change I did was to add a bit of jaggery to balance the tangy tamarind taste.
@ Divya: Thanks for your feedback! Yeah, I love adding a little jaggery to my dishes but my husband is not so fond of it so I leave it out 🙂
Dear Shireen As usual tasty..just made it..
Happy to know that Usha! Thanks for your feedback!
when did you add the tamrind paste?
I added it in Step 1 but missed out while writing the recipe. Have updated the recipe now. Pls check!
Come to try and make this recipe today but ingredients are confusing. Some parts (in brackets) have not been scaled for quantity e.g. 300g sprouted green gram and 6-7 long dry red chillies, deseeded, but it is not clear if the unscaled numbers relate to the 1x values. Also 1x recipe states 1/2 teaspoon each of cumin and turmeric but 3x recipe states 9 teaspoons for each. Help – don’t know what quantities to use. Have never tried a recipe from this website before and bit feeling confident
Hi TM,
Sorry for the delay in responding to your comment. You are right and thank you so much for bringing this to my notice. It was an error that occurred when my recipes were uploaded into the recipe template. The inaccuracy was due to the space between 1 / 2 and hence it resulted in an error while scaling up the recipe. I have corrected it now. Pls do check and let me know if it works properly
Should peppercorns be roasted in step 2? Assume peppercorns and turmeric powder should be included in the grinding
Yes, you should roast them as well. I have updated my recipe 🙂
Thanks for the recipe. It is so aromatic and tasty. Will definitely make it again.
Thanks a lot! Glad you liked it!
I tried this recipe and it came out very tasty. My family loved it. Thanks chef Shireen.
So glad you liked it Patric! Thanks for your feedback!